

- Log in to your Marzipan account
- Navigate to Events in the main menu
- Click the + Create event button in the top-right corner
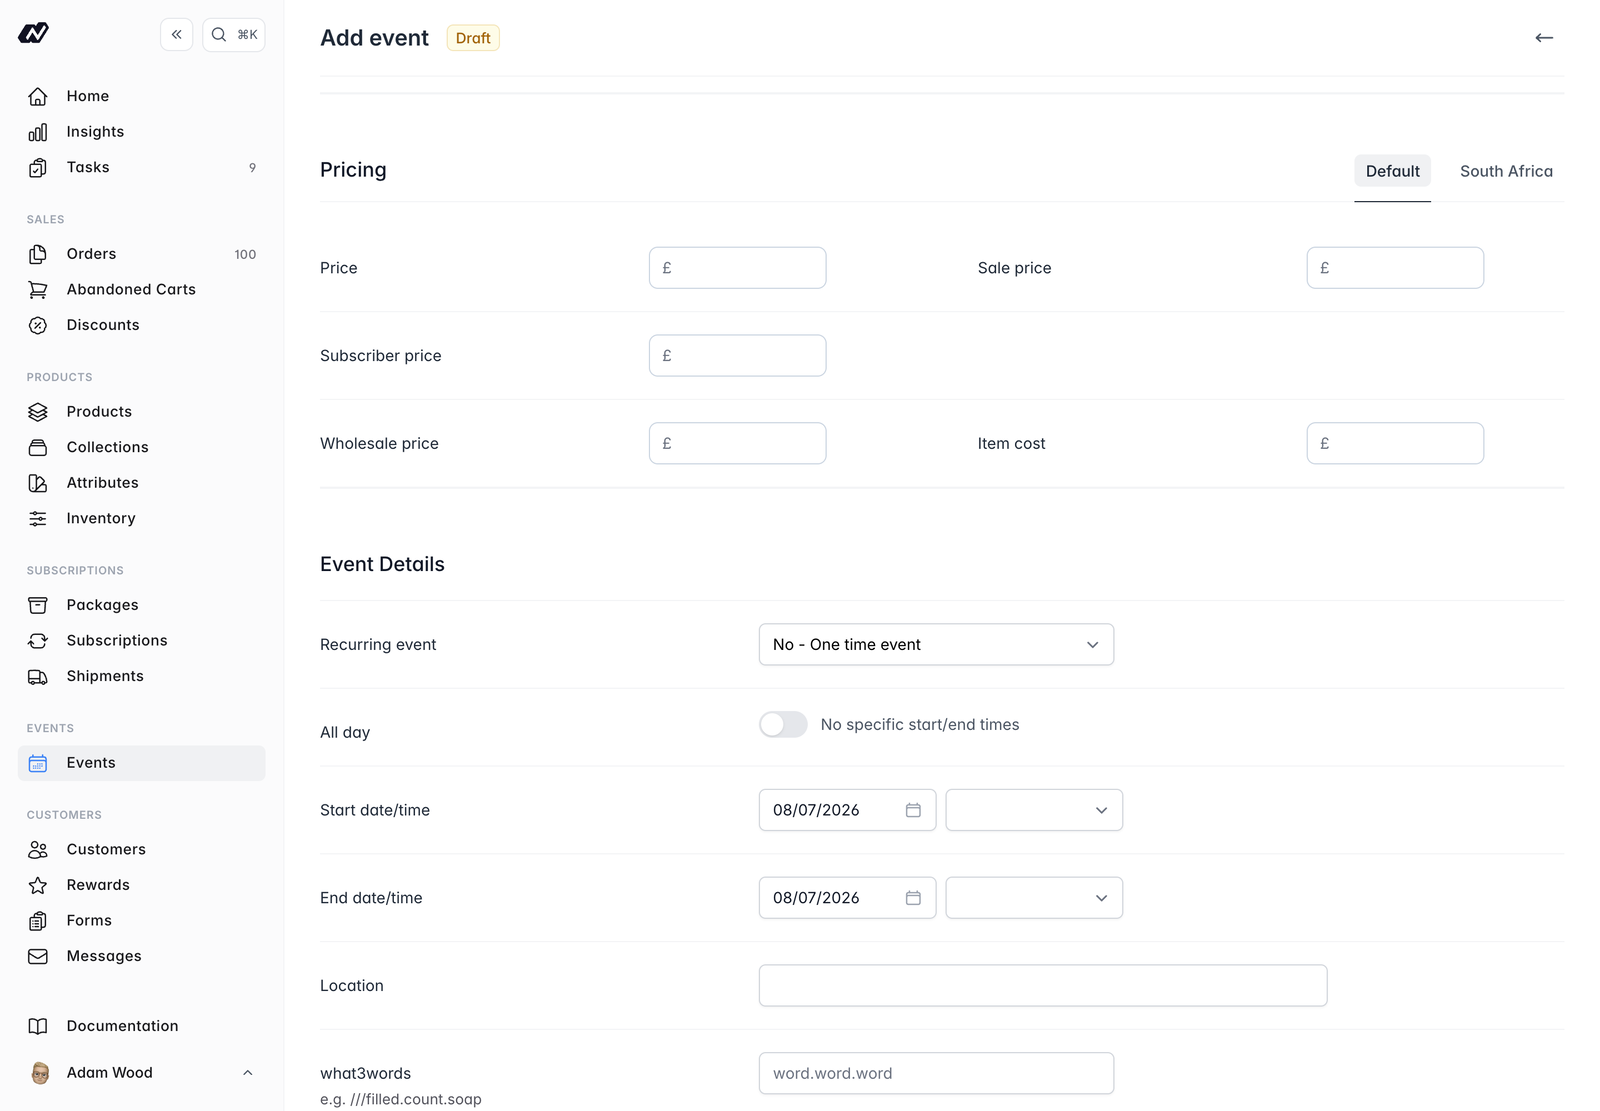
Creating an event
1
Name and describe the event
Enter the Name and description for the event. These are shown to customers.
2
Choose the event type
Select the Event type: Tasting, Tour, Workshop, Class, Course or Other.
3
Set the recurrence
Set the Recurrence: None, Daily, Weekly or Monthly.Weekly lets you pick the weekdays to repeat on, and you can set a recurrence end date.A recurring event can also run in separate date ranges, so a series can pause and pick up again without becoming a second event.Recurring events create occurrences: individual dated instances that customers book onto. See Recurring events.
4
Set the date and time
Use the All-day toggle, or set a start and end date and time.Multi-day events are supported.
5
Set the location
Enter the Location as a text address, plus an optional what3words address.
6
Add email instructions
Email instructions are included in the ticket emails sent to attendees.
7
Set the tickets and price
- Max tickets per order - the most tickets one customer can buy in a single order
- Price - the ticket price, with optional sale, subscriber and wholesale prices
- Capacity - the quantity of tickets available
8
Configure deposits, check-in and the waitlist
Optionally set up Deposits, Check-in and a Waitlist. See below.
Deposits
You can optionally take a deposit rather than the full price upfront:- Deposit amount - the amount taken upfront
- Balance due days - the number of days after which the balance falls due
- Auto-charge - charge the balance automatically when it falls due
On a recurring event the cut-off is counted from each date, so it closes sales for a date a set number of days before that date rather than before the first in the series. A series only reports its sales as closed once every remaining date has passed its own cut-off.
Outstanding balances can be requested or processed from the event detail screen. See Details.
Check-in and waitlist
- Check-in - enable QR check-in so attendees can be checked in at the door
- Waitlist - enable a waitlist to capture demand once tickets sell out